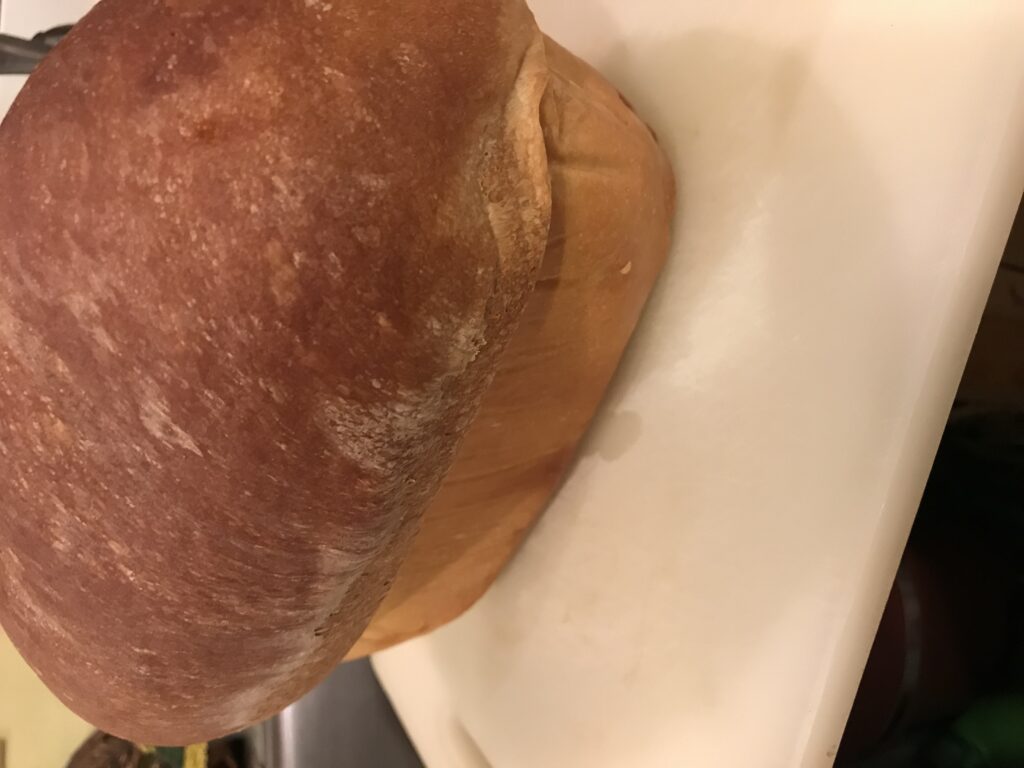
Chef Rena’s no-knead bread
Usually there is a huge story about why something happens. Let’s get to the recipe and technique.
You will need:
Oven – one that you can get to 375-380f consistently
Utensils- Mixing bowl (about 3 quart works for me)
Small bowl or container, about 1 quart
Other bowl or pan lid
Measuring cups (one cup measure is essential, the rest is if you have them)
Measuring spoons (more for scooping smaller ingredients than really measuring)
Spatula
Loaf pan, muffin tins, Spring-Form pan… Just about anything to cook in the oven will work
Parchment or other cooking paper. (NOT WAX PAPER)
Baking sheet/cookie sheet
Cutting board and bread knife.
big zipper bag or food-safe bread sized container
Ingredients – ‘Sponge’ – 1 teaspoon-ish instant yeast, 1 teaspoon granulated sugar, 1 teaspoon flour, 1/2 cup water
Flour – About 3 cups
Sugar – About 1 Tablespoon
Salt – 2 teaspoons
Oil/Fat – About 1/2 cup
Liquid – about 1 cup
Added ingredients
Time – Three or Four 15 minute sessions starting in the morning, overnight and 35-40 minutes to cook
This is lazy bread. It takes a while, but because you are having the yeast do real work for you while you are off doing other things. Make the sponge while you are gathering the other things you need in the morning. The sponge is as listed in the ingredients, mix them and let them sit to the side while you are putting the base bread ingredients in the mixing bowl. This is an additive recipe, so you will be using small amounts of the listed ingredients in each of the mixing sessions. The technique takes into account things like weather/humidity, age of ingredients, ingredients available.
Into the mixing bowl – 1 cup flour(any type and mixture), 1 Tablespoon (Sugar, honey, or any other nutritive sweetener. Not tested with artificial/non-nutrative sweeteners), 2 teaspoons salt, about 2 Tablespoons oil. Add the sponge when you see bubbles or a froth on the top of the liquid. Add enough water(usually about 2/3 cup) liquid to make the dough into a gooey mess.
Mix. Scrape the sides to keep it cleaner in the bowl, make sure you scrape the bottom to keep pockets of flour from becoming little dry marbles in the dough.
Put the other bowl or pot lid on the bowl to cover and walk away.
Around three or four hours later, lunch time usually works, look at the dough. It should have absorbed the liquid and formed a slight skin. Time to add another cup of flour and mix it. Scrape and fold the dough until it doesn’t have much flour residue on the sides of the bowl. Cover and let stand.
Another 3-4 hours, and it is time for the last round of mixing, and where you get to do the ‘flavoring’ of the bread. Use the measuring cup to make a cup of mixed additives, or just use flour if you have nothing to add. The dough should be ‘soft’ when you use the spatula on it. If you need to, add a little water to keep the dough moist as you mix in the last dry, but not so that it is slimy. Let it sit in the bowl as you get the baking stuff ready.
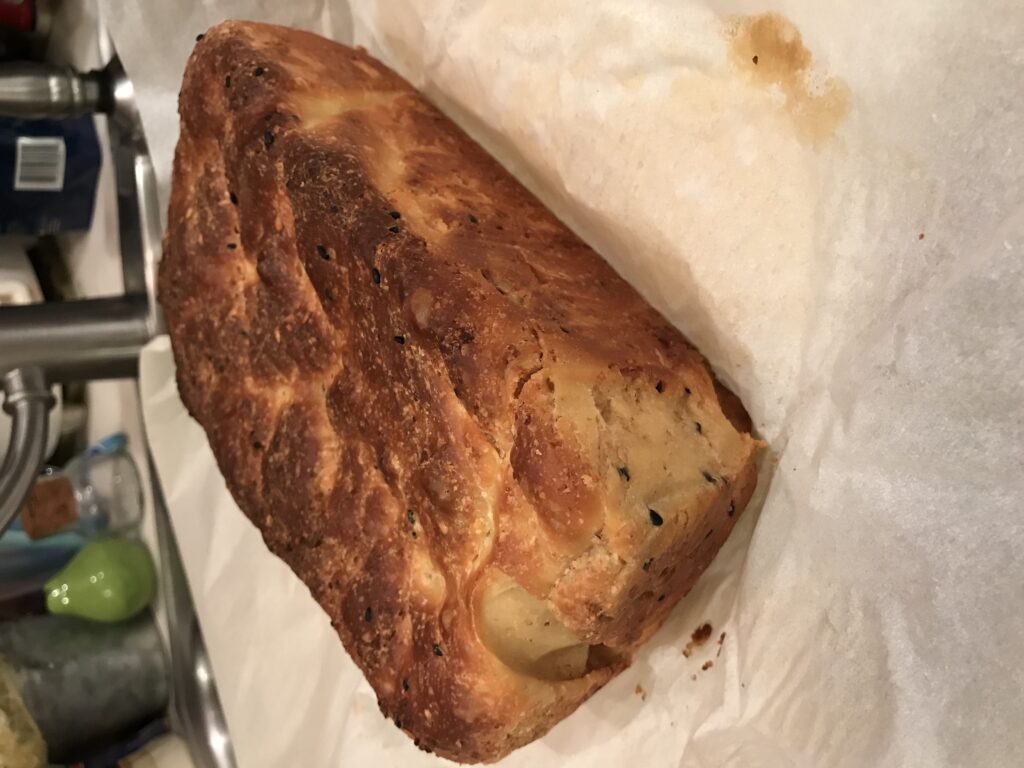
I use a loaf pan and use parchment paper to line it. You can use muffin tins or anything else that is oven safe to cook the dough, but make sure you keep it from sticking to the pan. Less clean up that way. I use between 2 and 3 table spoons of oil along with the parchment to help with the browning and shape of the loaf. The oil is put into the mixing bowl after you do the last mixing and scrape the dough into the baking pan. This makes it fairly easy to get the dough out, and covers the outside of the loaf with the oil.
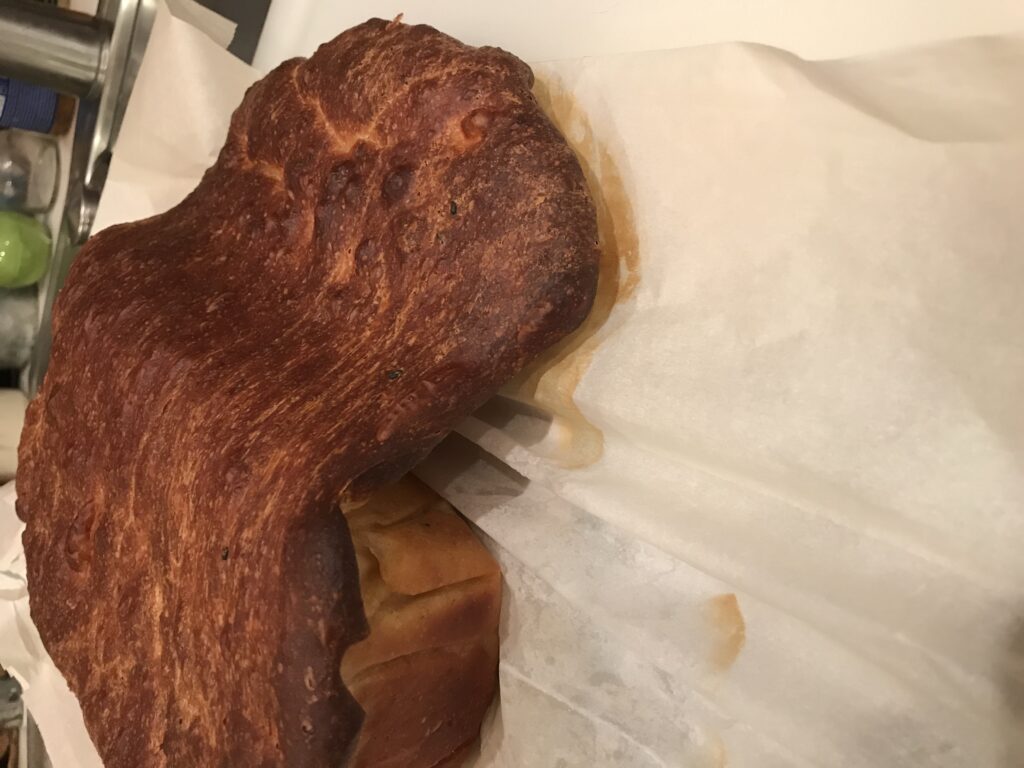
Put the bread in the oven. After making sure nothing else is in there, of course. For the first few time you do this, use the baking sheet under the bread pan. The yeast may be a bit… enthusiastic overnight.
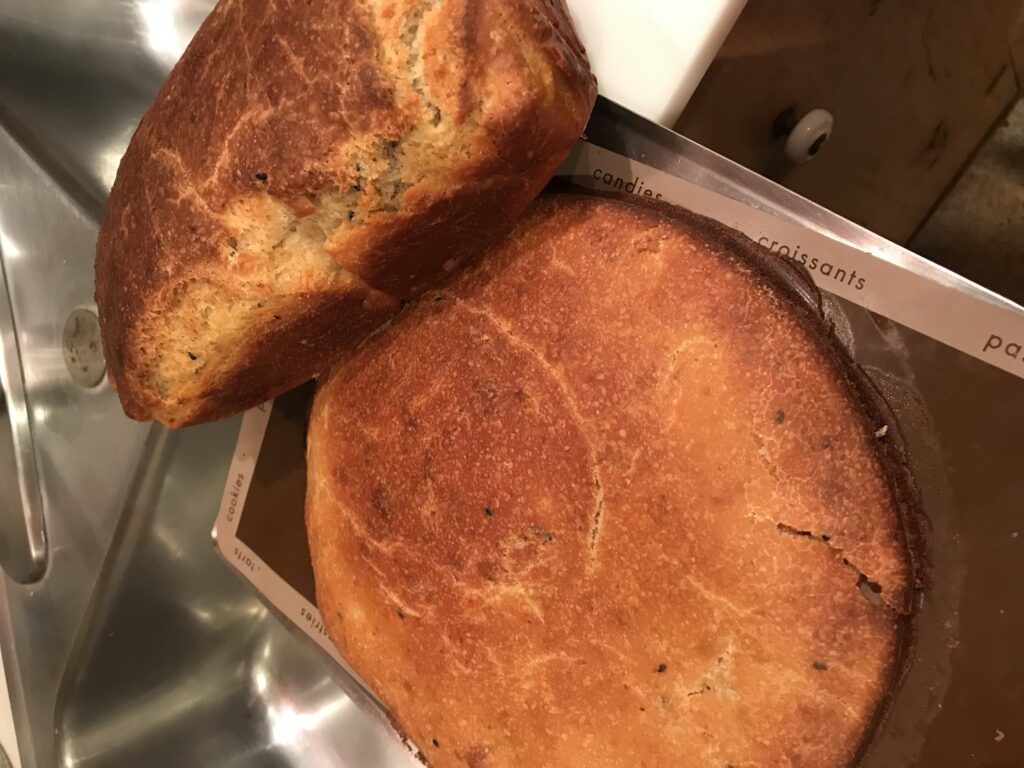
In the morning, check the oven. You should be able to smell the work of the yeast, and see how the dough rose. If you had a spill, you can either bake it as it is and cut off the extra, or take the pan out(hence the baking sheet), cut the spill and put that in other baking pans, OR save it in the refrigerator as your next ‘sponge’. It will last for about 3 days in the fridge before dying. Be aware that if you cut into the dough, it will not rise much in the oven as it cooks, making a slightly misshapen loaf.
If you are good with the dough and pans, turn the oven on to 375-380f. I hate to say it, but make sure you close the oven after making sure there is nothing else(cough plastic) in the oven. Check and turn the bread at about 20 minutes. It is done when it is brown to your liking, about 30 minutes for a nice light brown, 40 for a dark brown. Convection will bring that time down by about 10 minutes. Smaller loaves and muffins are about 20 minutes total or when it is brown, but use a toothpick or chopstick to make sure it is cooked.
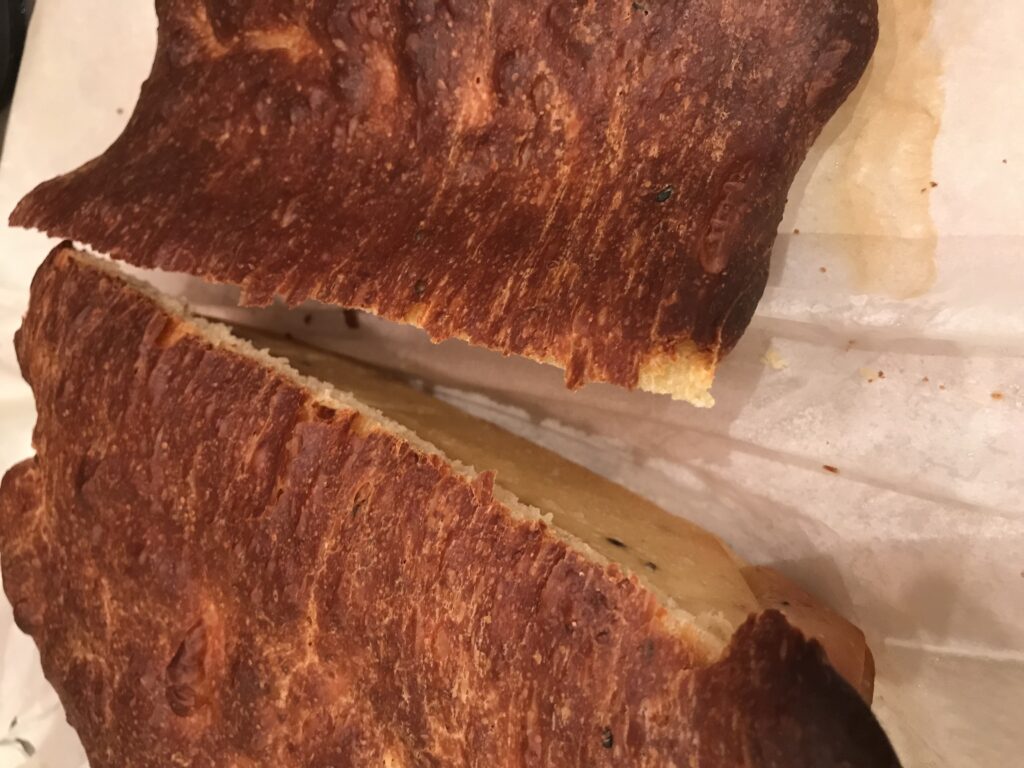
The one really nice thing about parchment is that you can lift the bread out of the pan while it is very hot without burning yourself. Most of the time. Have the cutting board set up to receive the bread. Let it cool a little bit before cutting into it. The bread needs time to cool and harden the outside crust.
Do not store the bread until it is completely cool. If there is condensation in the container, it will bring on mold within a few days instead of about a week. If the loaf lasts that long.
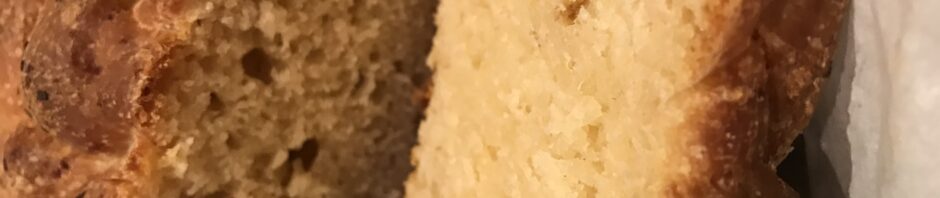
Now – The variations on this recipe are extensive. The flavor and consistency will change from loaf to loaf.
Substitute nut meal(almond, etc.) for the second and or third ingredient add.
Add dried milk powder to add flavor and protein. It does not add much volume, so just do a 2 oz/2 Tablespoon scoop right into the first mix.
Eggs can be added either in addition to or instead of some of the oil and water.
Wheat germ, seeds, dried fruit, and chocolate chips are all good additives for the last mixing.
If you are going to make french toast, use some maple syrup as the sweetener.
If you only have self-rising flour, only add 1/2 the yeast to the sponge.
Any liquid can be used. I once used the ‘Aqua Faba’ from a can of garbonzo beans in a savory loaf(mixed in rosemary, bell pepper flakes, salt on top as it was cooking)
Any oil can be used, including animal fats. I do not recommend low-temp oils (such as flax seed) for the last part as the oil could burn and make the bread ‘smoky’ or burned tasting. If that is all you have, keep an eye on the loaf as it cooks. If I have butter as my oil, I put the butter in cold and mix it in. I try not to use it as the baking oil, but if I have to, I melt the butter for on the dough.
If you want to do a cheese bread, use grated cheese and ‘roll’ the dough around it, with only a little sprinkle on top.
I make a multi-seed bread variation by using some rolled oats, wheat bran, sesame seeds, almond meal, chia seeds and flax seeds as the last cup of dry.
Have fun experimenting!